

The GR III firmware 1.20 was released!
Since the release of GR III, we have had two firmware updates to improve its performance and stability, but this was the first update to add a function to the camera.
The main contents of the update are as follows.
・ Grain Effect has been added to the four b/w Image Control types
・ Automatic horizontal correction function has been added
・ Operability and stability have been improved, such as shortening of the startup time when starting by pressing and holding down the Playback button.
Among these, I’d like to talk about “Grain Effect” this time.
Before this, you could only add strong graininess to Hard Monochrome, and you could not adjust its intensity.
Now, you can select the grain level out of OFF, Weak, Medium, or Strong for the following Image Control types.
· Monotone
· Hard Monotone
· Soft Monoton
· Hi-Contrast B&W
This is one of the functions pre-announced on the GR III’s product page [Expressive Power].
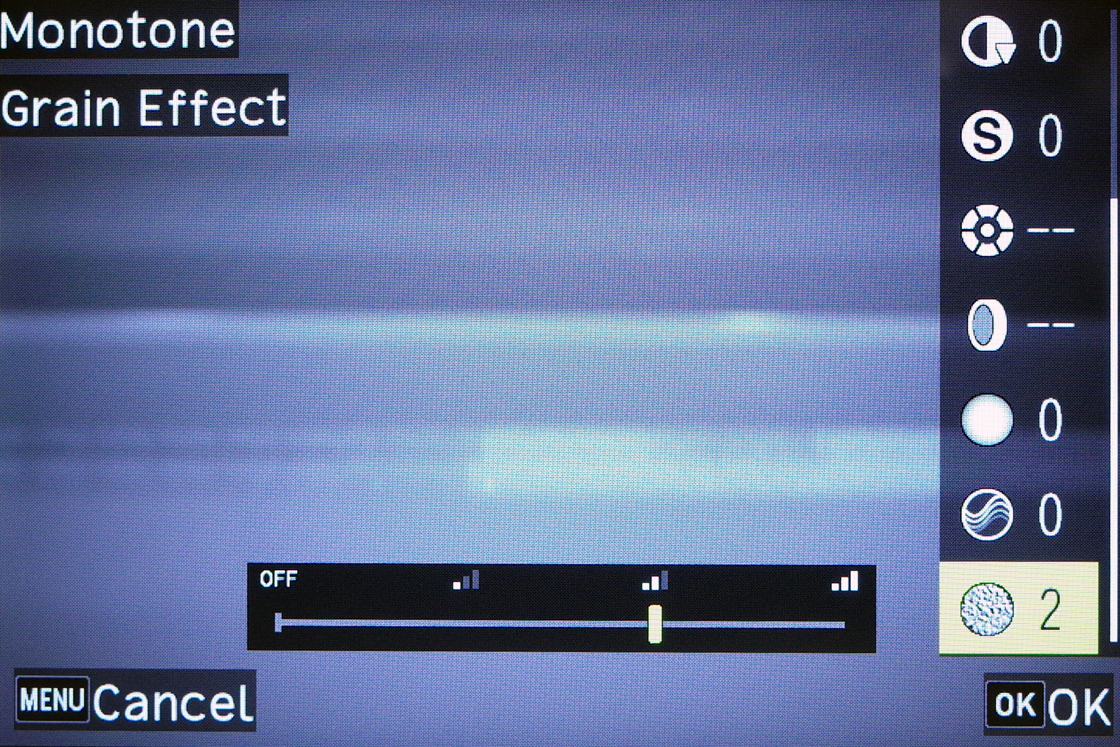
The user interface is as shown above. OFF, Weak, Medium and Strong are indicated on the horizontal line with the word and icons. On the right side of the screen, OFF is indicated as "-", Weak "1", middle "2", and strong "3".
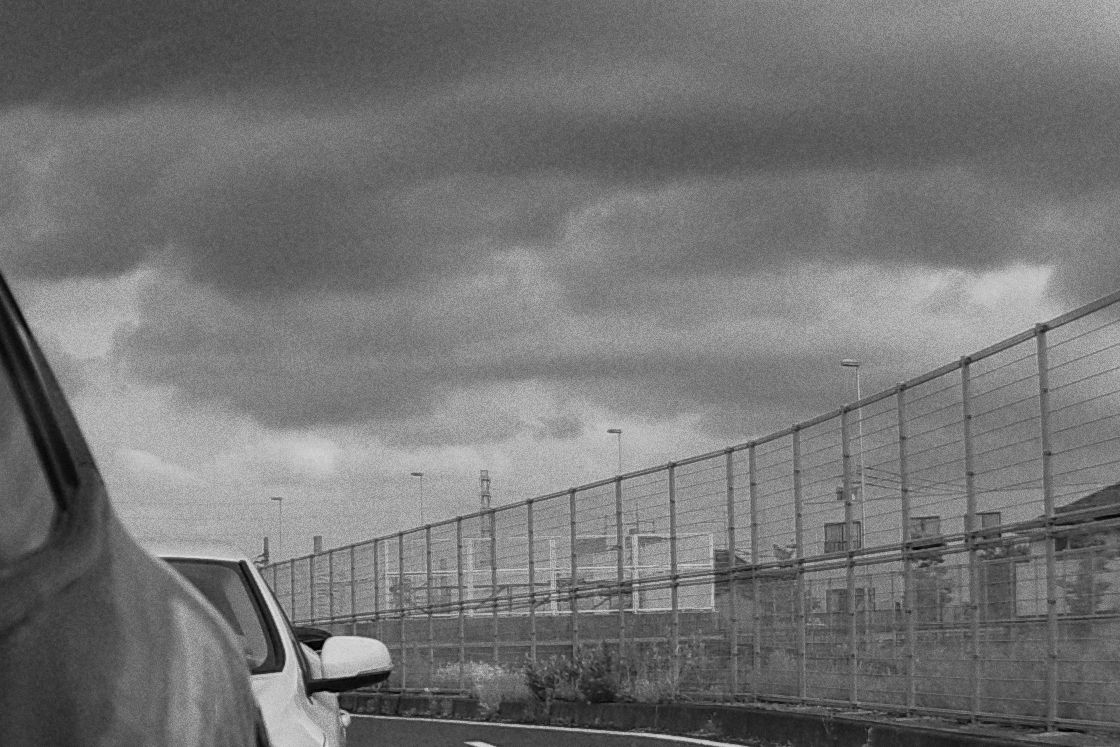
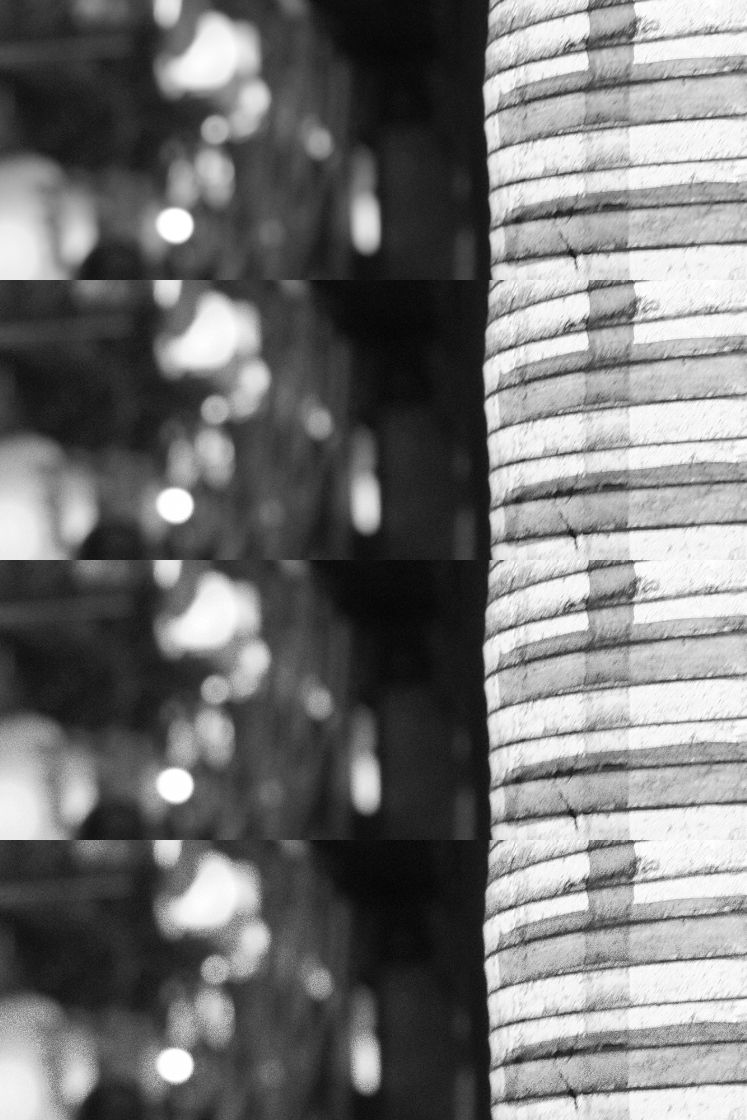
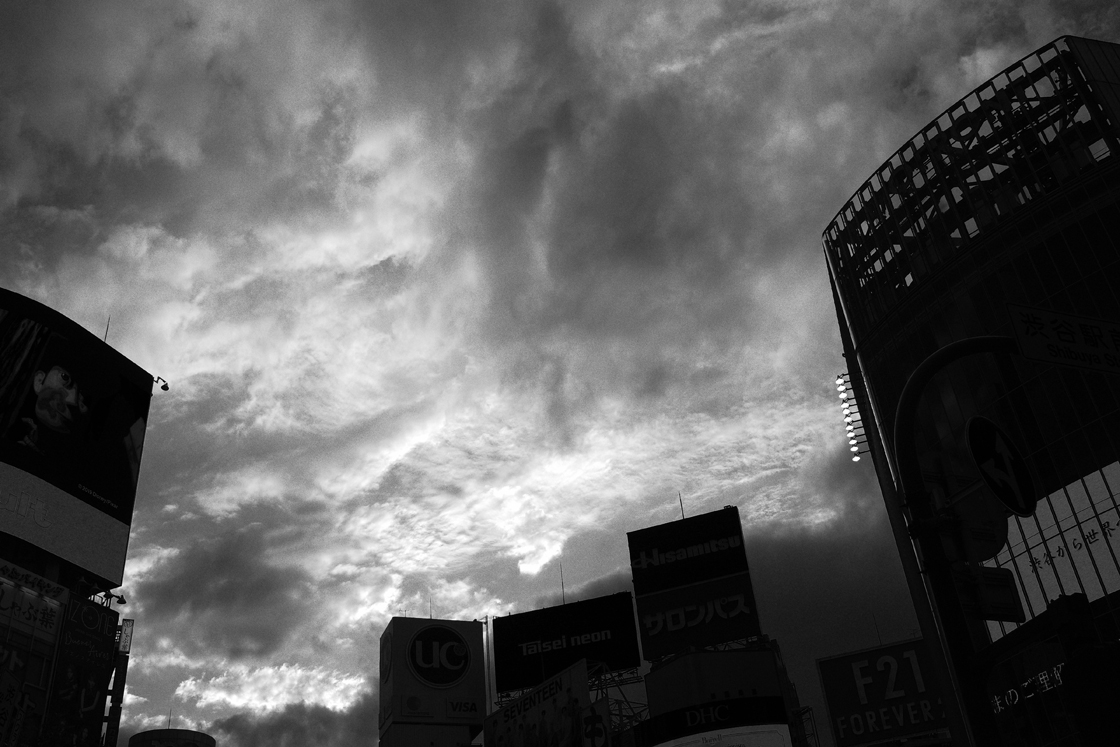
First, let me add some grain to a b/w image to show you how it affects it. You can’t see the grain clearly in the thumbnail photos of the blog. The below are the whole picture and cropped and 100% magnified part of it as well as the partial images of Weak (1), Medium (2), and Strong (3).
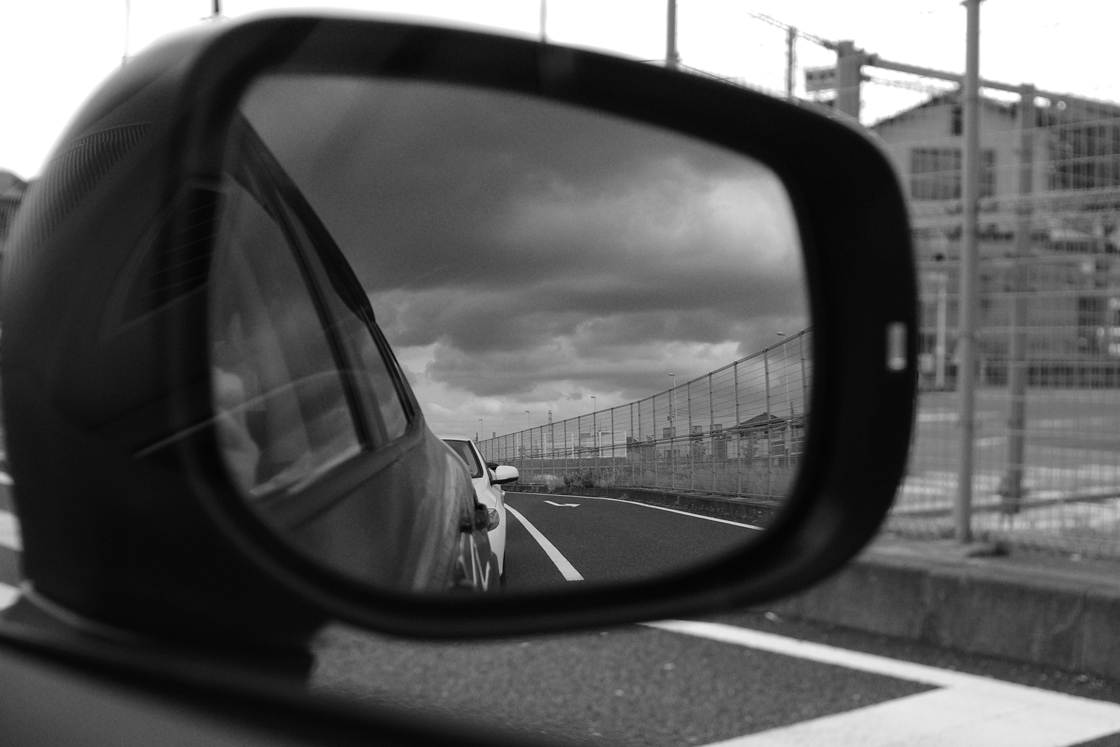
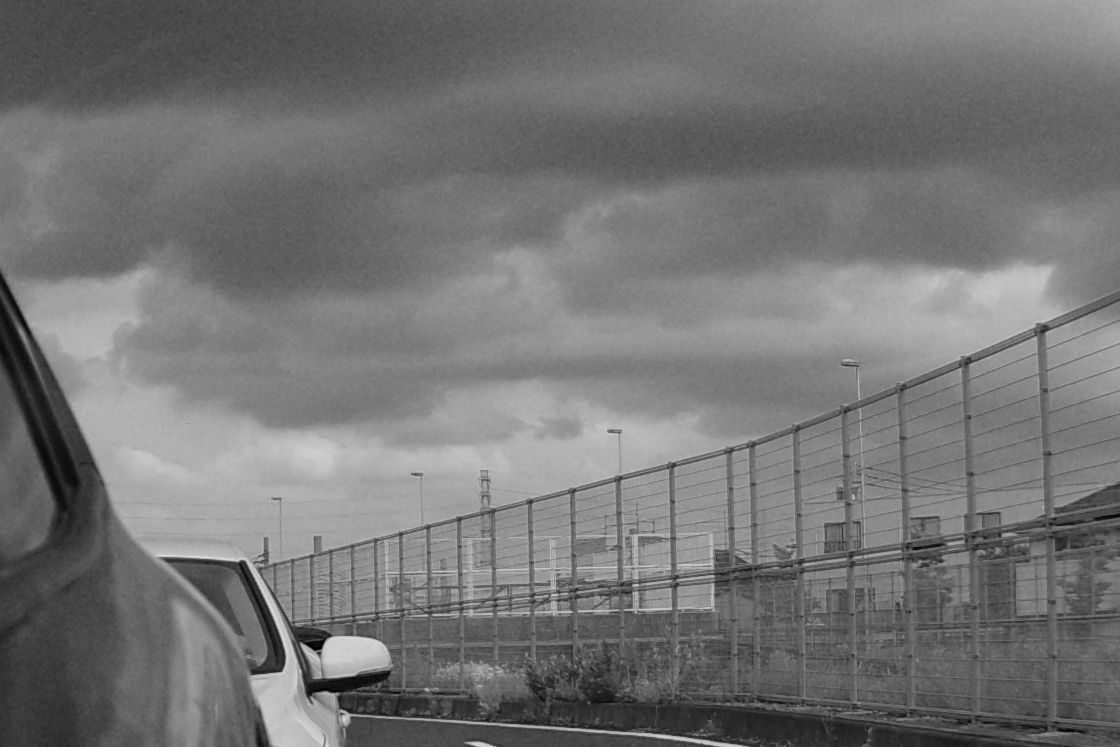
Image with Grain OFF and 100% magnified image of the central part.
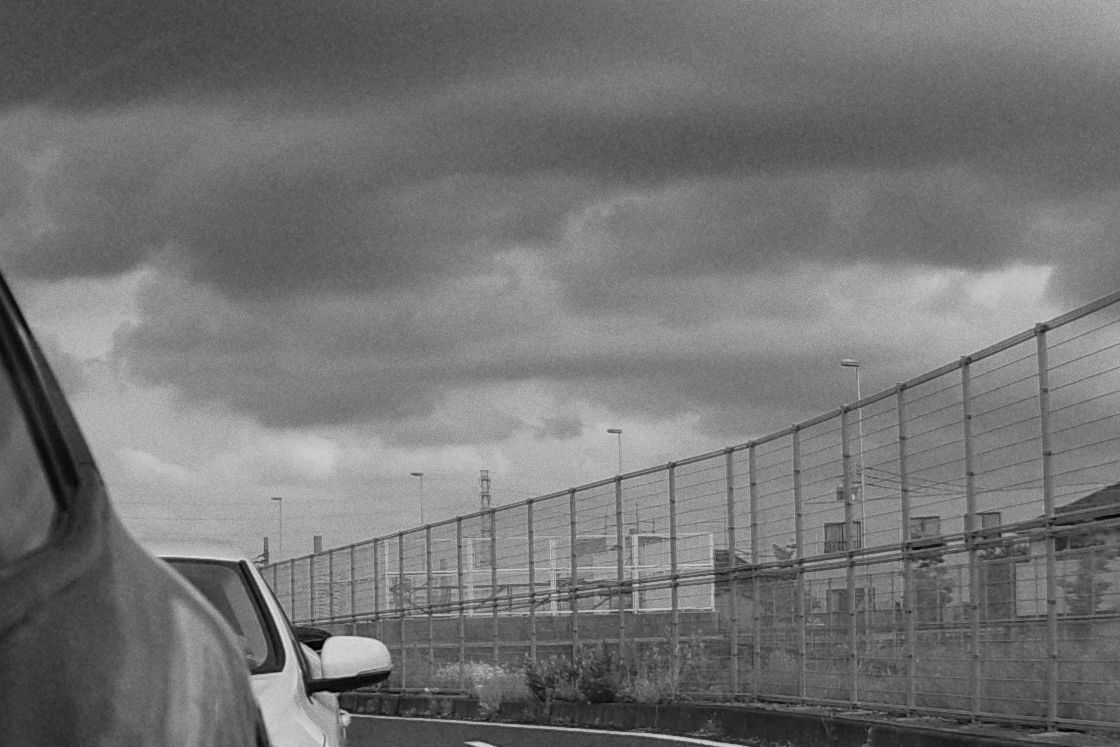

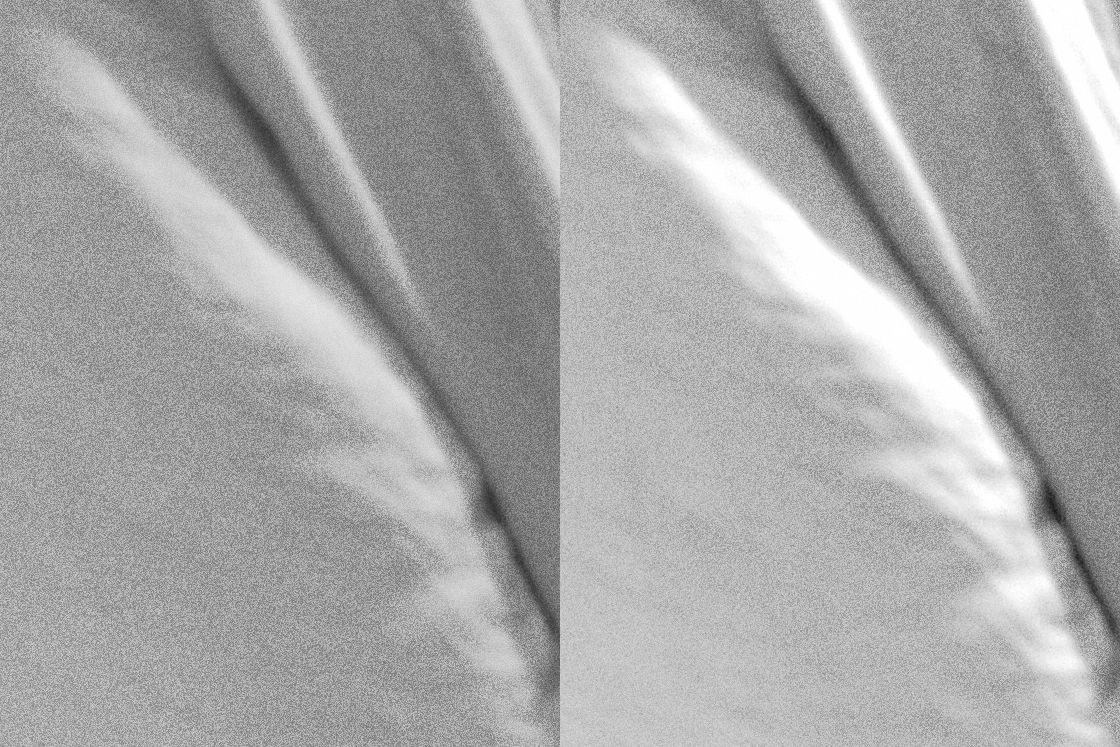
From left to right, the grain level Weak (1), Medium (2), and Strong (3), cropped and magnified 100%.
There are differences in “tone of the cloud”, “shiny car surface”, and “details of wire fence and distant architecture.”
It’s easier to recognize the graininess in a print larger than 2L. As long as you resize the picture on the screen, you may not see much difference.
Grain Effect is not much applied to bright or dark areas but more to mid tones. For bright and dark areas where there is little noticeable grain, you can make a difference by increasing the contrast and clearly differentiating those two areas.
Monotone with Grain Effect Strong (3) on the left, and Hi-Contrast B&W with Strong (3) on the right.
The graininess changes from left to right as you increase the contrast.
The impression is similar every time you shoot or do in-camera RAW development as long as the setting is the same, but the patterns of fine grains are randomly generated each time. It is not template layering.
It is similar to black and white film where you have subtle differences of grain in similar pictures.
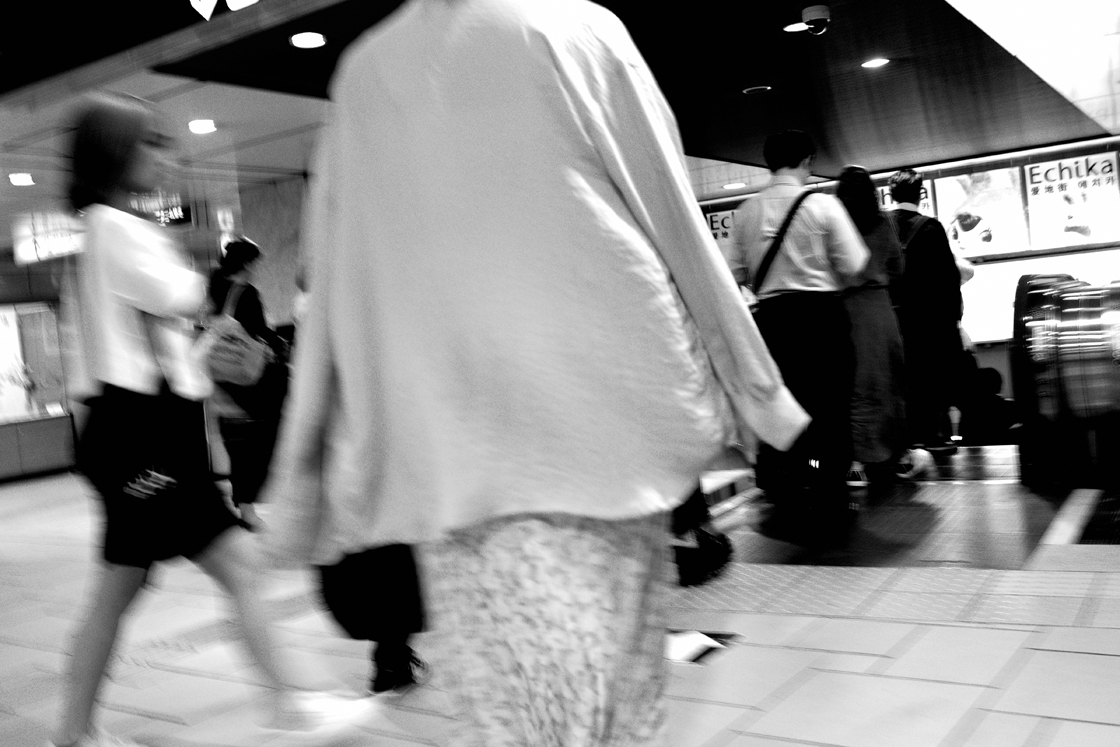
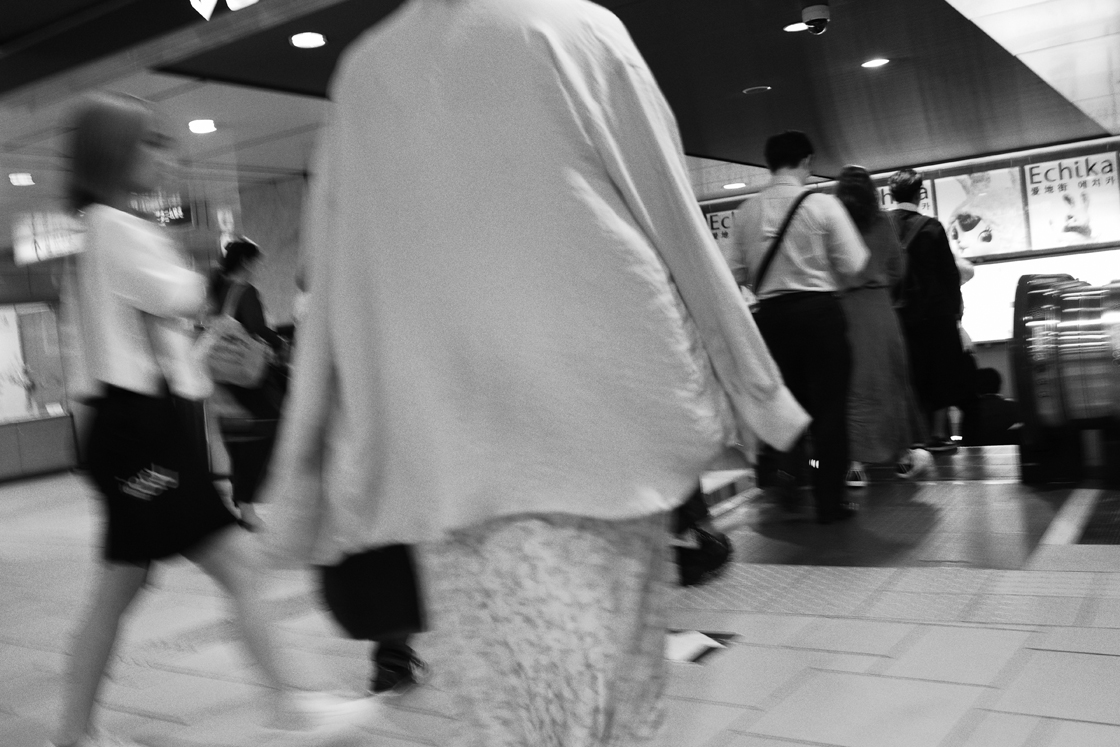
Graininess is more apparent in mid tones, so in high contrast pictures such as night snaps, less areas get grainy.
The photo on the left is the whole picture. Those on the right are from to to bottom- Off, Weak (1), Medium (2) and Strong (3).
Take these behaviors into consideration, I would like you to find your favorite grain settings.
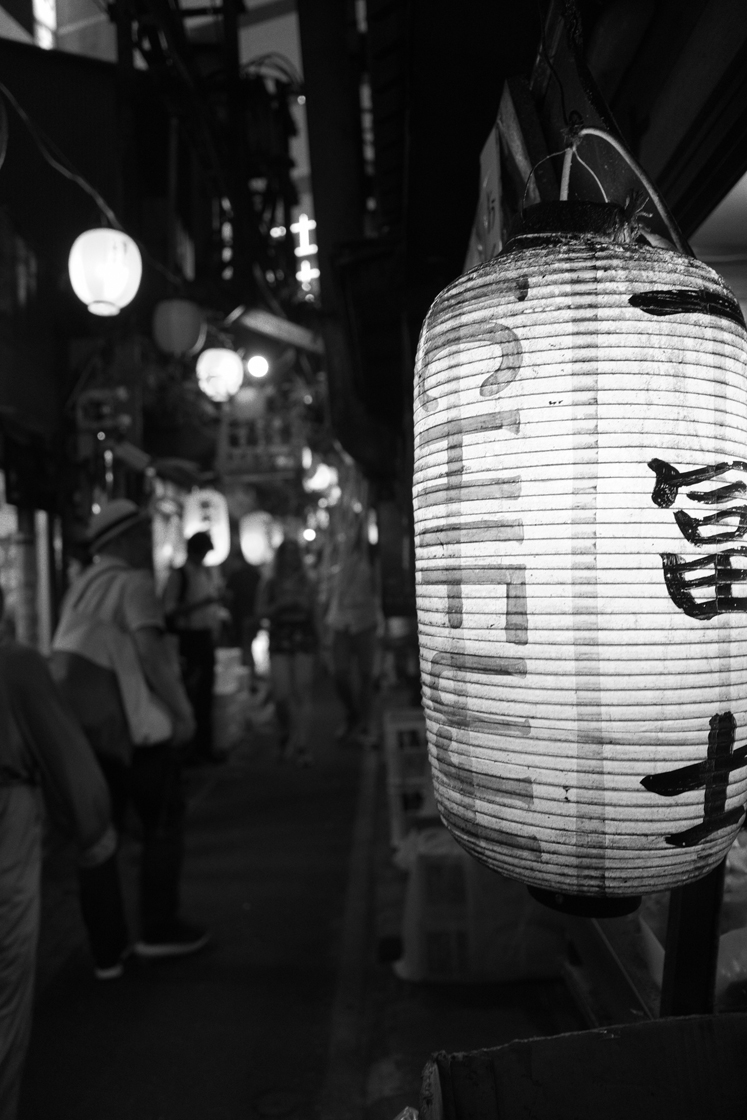
As for me, who love to take pictures of sky and clouds, my favorite setting is to add Grain Effect Medium (2) or Strong (3) to Hard Monotone. In a situation like this, Hi-Contrast B&W can ruin cloud details and normal black and white can be too soft, but it is just fine for Hard Monotone.
Clouds and the light passing through them in Hard Monotone + Grain (3)
Try the new function “Grain Effect” and create your favorite black and white tone.
***
The header photos of GR official were selected through the contest “View with GR”.
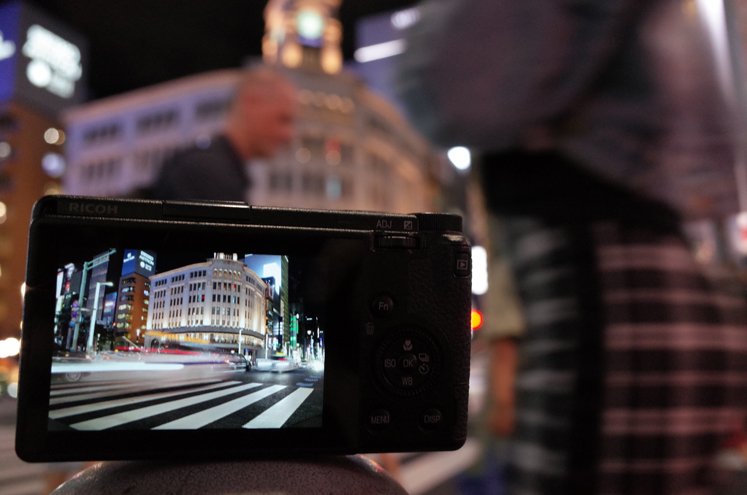
Last night, I tried to shoot a "view with GR" too.
I found it very challenging.
(KA-TSU)


