

(Translated from the original post on February 21, 2023)
Hi, this is Inaba.
Do you usually shoot in JPEG? Or do you use RAW or RAW+?
I mostly shoot in JPEG, but sometimes I wish I had used a different Image Control. In such cases, I use the [Base Parameter Adj] function to try to make the shot as close to my impression as possible.
The GR has a [Base Parameter Adj] function that allows you to adjust the brightness, saturation, hue, contrast, and sharpness of JPEG images later in the camera. This can be selected by pressing the MENU button→Playback Settings→[Base Parameter Adj], but it can also be easily accessed by pressing the Movie/Wireless button during playback or by long-pressing the touch panel.
Once I accidentally adjusted a photo and then adjusted it again.
I thought, “Oops, I made a mistake,” but it happened to be a photo taken with Bleach Bypass, so it had a unique color tone, and I thought, "This could be an interesting expression," so I tried it right away.
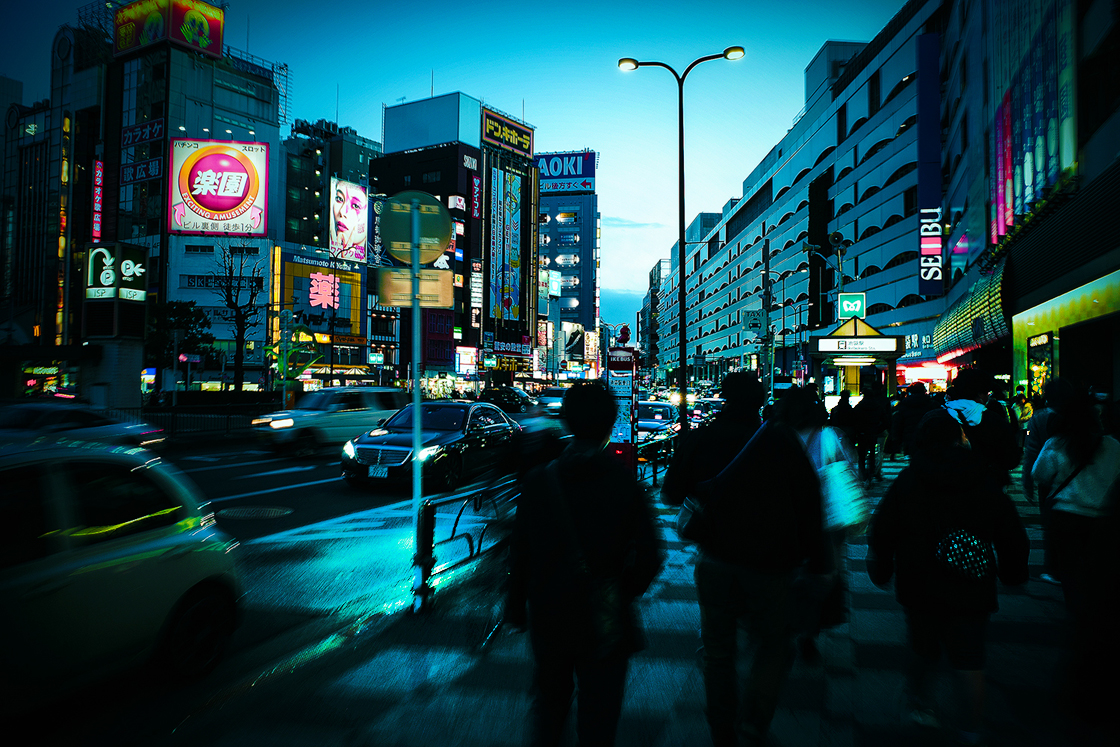
GR III Av Mode F6.3 SS1/4 ISO100 EV-1.0 AWB Bleach Bypass [Base Parameter Adj]
The photo came out quite rich and dense! The base bleach bypass photo should be underexposed because it is more suitable for this [Base Parameter Adj] method than overexposed photos, and if the subject is outdoors, it is easier to get a rich and dense image in the evening around sunset!
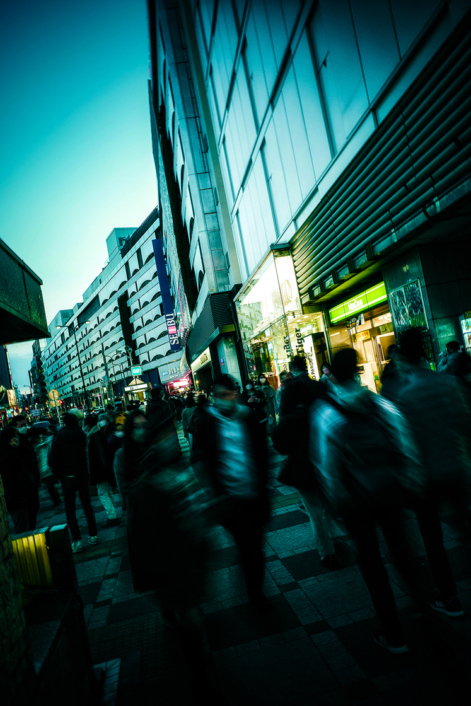
GR III Av Mode F6.3 SS1/4 ISO100 EV-1.0 AWB Bleach Bypass [Base Parameter Adj]
Well, this is like a ‘Base Parameter Adj booster’. The photo was adjusted twice with saturation and contrast set to maximum, resulting in a richer and denser photo than I expected. Also, since the bleach bypass is used as a base, the increased saturation gives the image a unique color.
Here is how the actual boosted [Base Parameter Adj] photo is created.
First, take a slightly underexposed photo with the bleach bypass. A little darker than normal is fine.
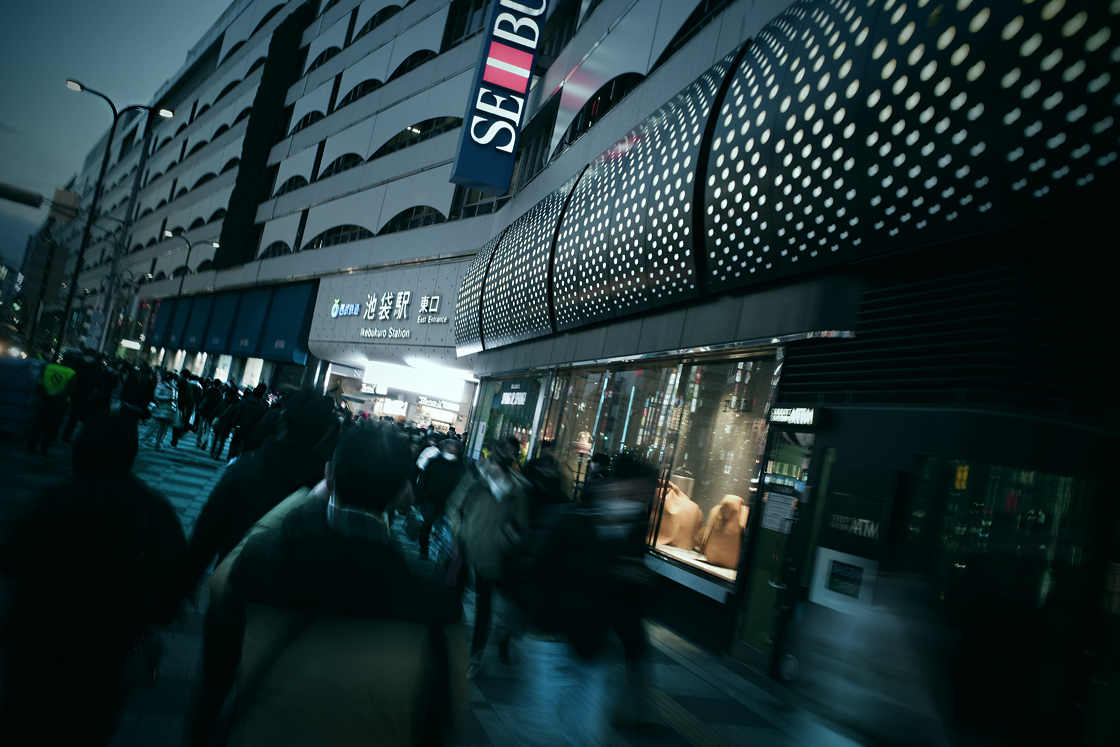
GR III Av Mode F6.3 SS1/4 ISO100 EV-1.3 AWB Bleach Bypass
Apply the first [Base Parameter Adj] to the image. Adjust saturation and contrast to ‘+4’ and the others to your liking. I often set Hue to -1 and Brightness to +1.
Base Parameter Adj: 1st Adjustment
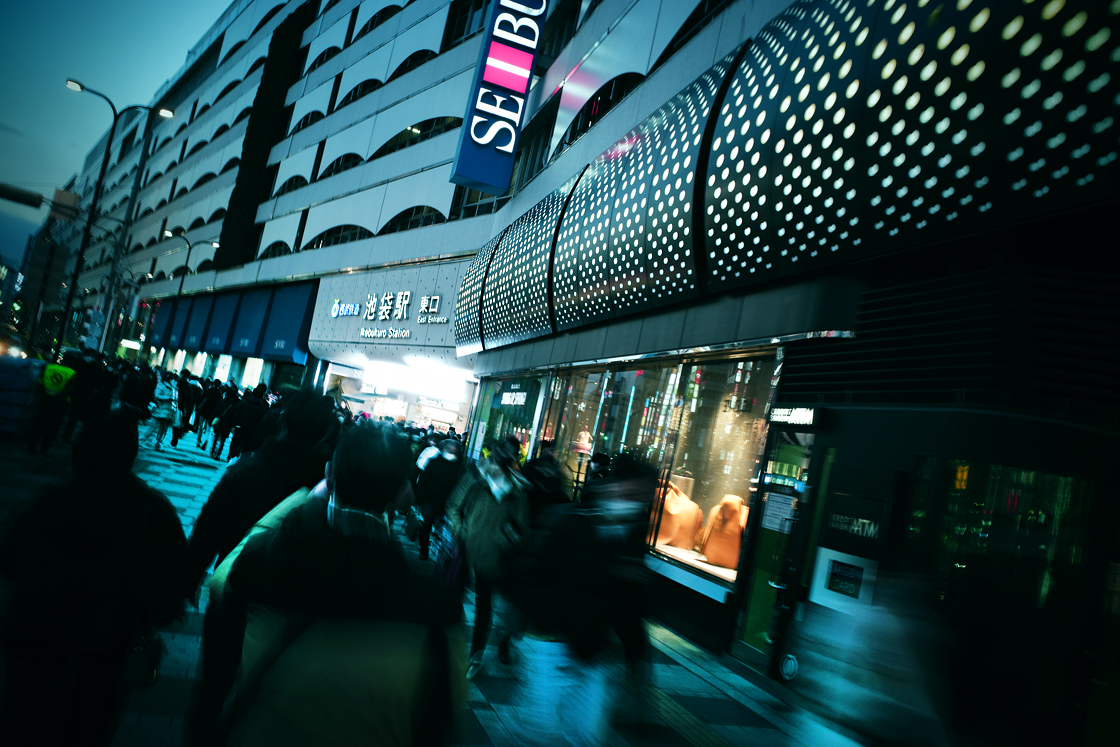
Now it's time for the second round of [Base Parameter Adj]. As with the first adjustment, set saturation and contrast to "+4" and adjust brightness, hue, and sharpness to your liking.

Base Parameter Adj: 2nd adjustment
The photo now looks quite rich and dense. The colors are unique.
There is a slight tonal gap in the highlights, but I think the image quality is good enough for use on social networking sites. It may sound surprising, but I found that the [Base Parameter Adj] resulted in very little degradation of image quality (although it may be noticeable in enlarged images when applied twice...).
There may be pros and cons to adjusting the image quality of a photo this much, but I believe that photographic expression is free, so I think I like it, or at least I find it interesting!
If any of you like it, please send me a letter of encouragement!
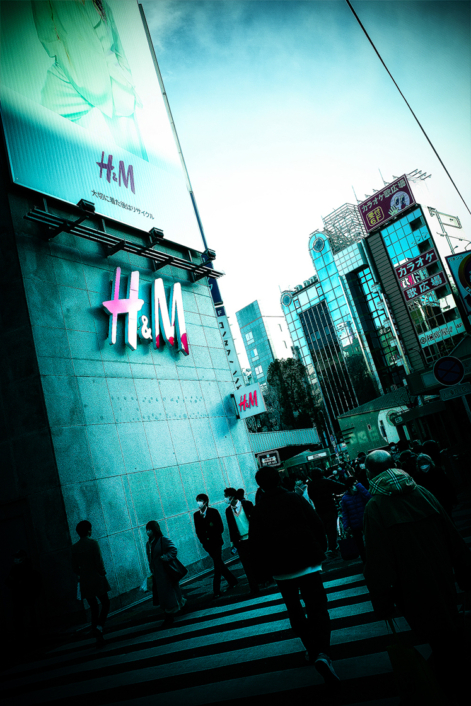
GR III Av Mode F4.5 SS1/1000 ISO400 EV-0.3 AWB Bleach Bypass [Base Parameter Adj]
This photo was taken at a bright time of day, but the area near the crowded street was dark in shadow, so I used [Base Parameter Adj] to bring out the fullness of the image. It also works better to use a slightly underexposed photo as a base.
This time, I tried to create an interesting photographic expression by using the [Base Parameter Adj] function in the camera after shooting.
The GR also has other post-editing functions such as level compensation and white balance compensation. Find your own way to enhance your photos.
See you soon!
(Inaba)


