

One of the Effects I often use is "Miniaturize."
This is a function that records an actual scene as if it were a miniature model. It has been installed in the GR and GRII.
We see less miniaturized photos today than in the time when they were popular some years ago, but I am fond of heartwarming atmosphere they make where you feel like you could actually touch and move things and, furthermore, you could turn the tough world we live in into a one of toys.
Actually, the GR was not the first Ricoh camera that installed the miniaturizing function for the first time. It was a model called CX2 released back in 2009.
It was the first model that I worked on as a product planner and I remember nostalgically the time when I discussed the picture making and user interface with the members of the development and design department.
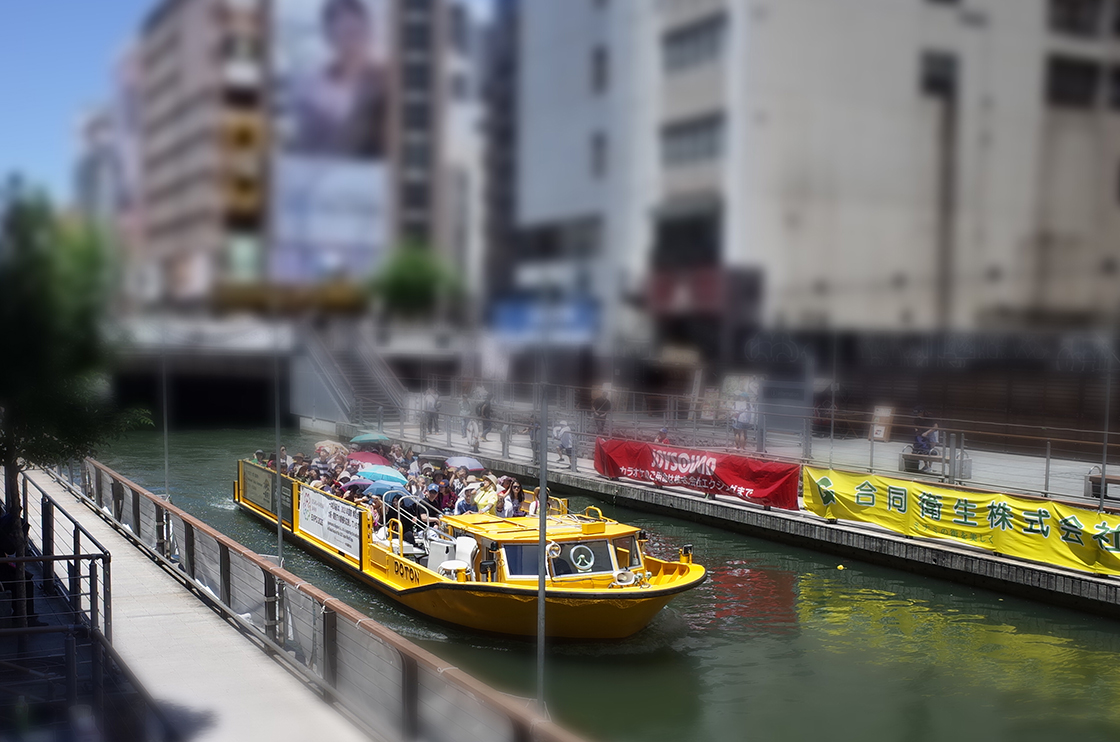
In Miniaturize, the saturation is set higher by default.
That is because things that are closer look higher in saturation than distant ones, where diffusion of the atmosphere takes place. What makes the photo look like a miniature is not only the blur effect but also the difference of impression by manipulating the saturation.
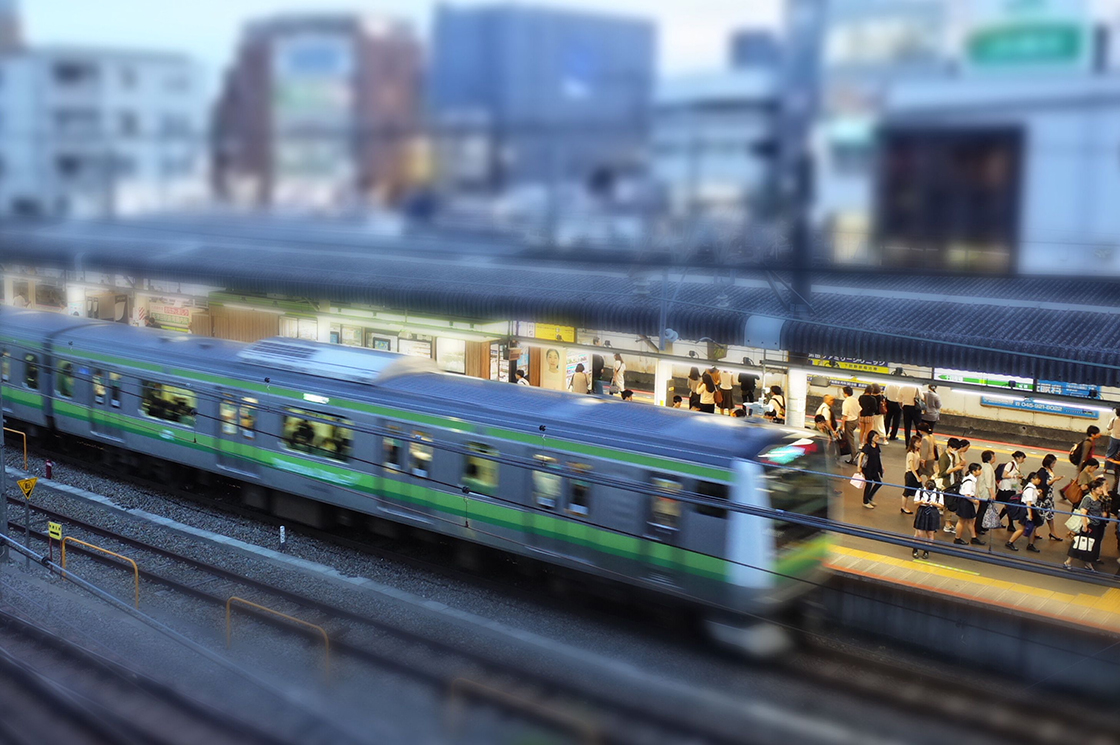
Shooting at a shutter speed that the incoming train moderately blurs. In order to concentrate on the shooting opportunity, I record it in RAW and miniaturize afterwards with the in-camera development function.
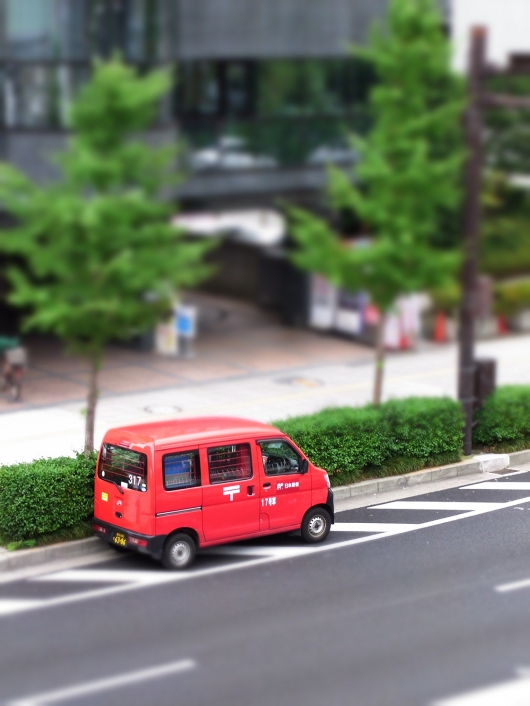
Let me give you some tips on miniaturizing photos with the GR.
You may find the GR’s view angle of 28 mm equivalent too wide (in case of actual diorama or dollhouse photo taking, wide angle lenses are rarely used).
In such a case, using "Crop" when shooting or "Trim" when playing back can narrow down the amount of information on the screen and make it a better picture.
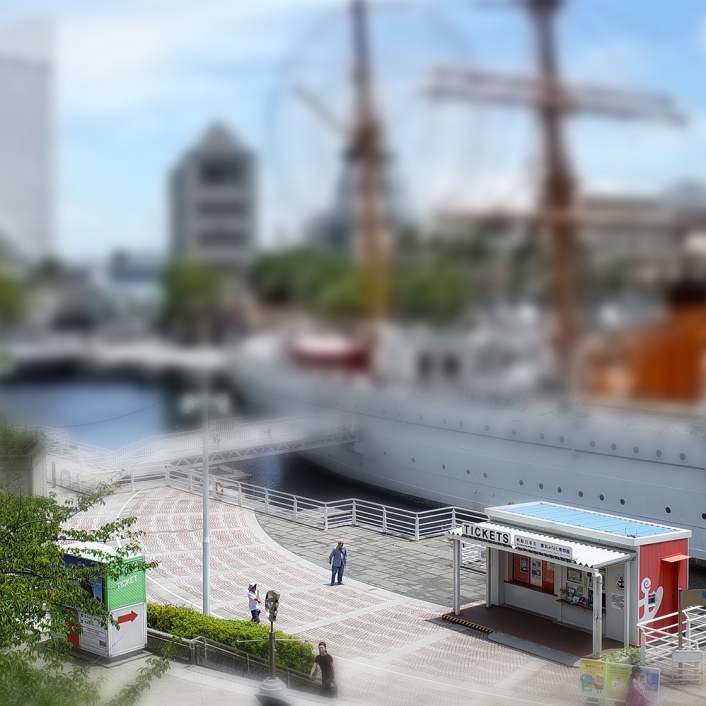
Instead of the sailboat behind it, I tried to draw viewers’ eyes to the building that were not main by adjusting blurring position and trimming. Doesn’t it look like a thoroughly made miniature work?
Shooting in RAW is also recommended.
With the in-camera RAW development of the GR / GRII, in addition to "Saturation" and "Contrast" parameters, you can adjust the "Orientation", "Position" and "Width" of the part you want to leave unblurred by checking them on the screen. Then you can concentrate on the opportunity at the time of shooting and process it with the in-camera development afterwards.
What did you think?
Discover something new by using a function that you don’t use often.
(ARA)


