

Hello, this is Emi.
As they all bud and bloom in spring, I guess your GR III is playing an important role now.
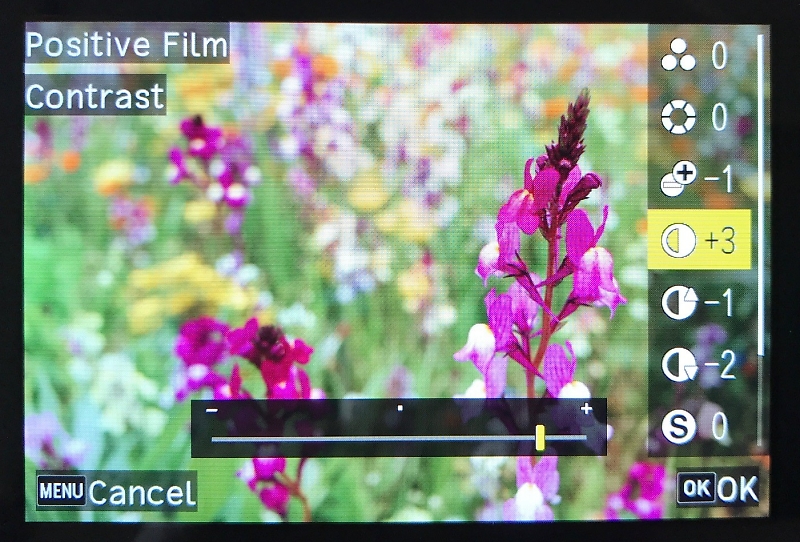
As a part of the introductory series of the GR III, let me talk about the Image Control.
The effect settings in the Image Control are as follows.
・ Standard
・ Vivid
・ Monotone
・ Soft Monotone
・ Hard Monotone
・ High-Contrast B&W
・ Positive Film
・ Bleach Bypass
・ Retro
・ HDR Tone
・ Custom 1, 2
Compared to the GR II, the number of the effect settings has been considerably reduced, but there is a significant difference; you can now adjust the parameters of individual effects more finely.
In the GR II, the number of adjustable parameters was only 3 or 4 depending on the effect you selected.
With the GR III, however, you can adjust the following parameters (depending on whether it is black-and-white or color).
· Saturation
· Hue
· High/Low Key Adjustment
· Contrast
· Contrast (Highlight)
· Contrast (Shadow)
· Sharpness
· Shading
· Clarity
These parameters can be adjusted in ± 4 range (8 steps in total).
If you want to know more about black-and-white effects, read KYO’s article for more details.
You can adjust them at the time of shooting, but I think it is easier to shoot in RAW or RAW+ and do it afterwards by using the in-camera RAW development.
I have been shooting exclusively in RAW+ recently!
When developing, you can adjust the following parameters.
· JPEG Pixels
· Aspect Ratio (3:2 or 1:1)
· Color Space
· White Balance
· Image control
· Peripheral Illumination Correction (Vignetting)
· Sensitivity (Exposure)
· High-ISO Noise Reduction
· Shadow Correction
You can drill down the image settings like this.
For your reference, I have made a list below to show you how the image changes when each parameter is set at +4 / -4.
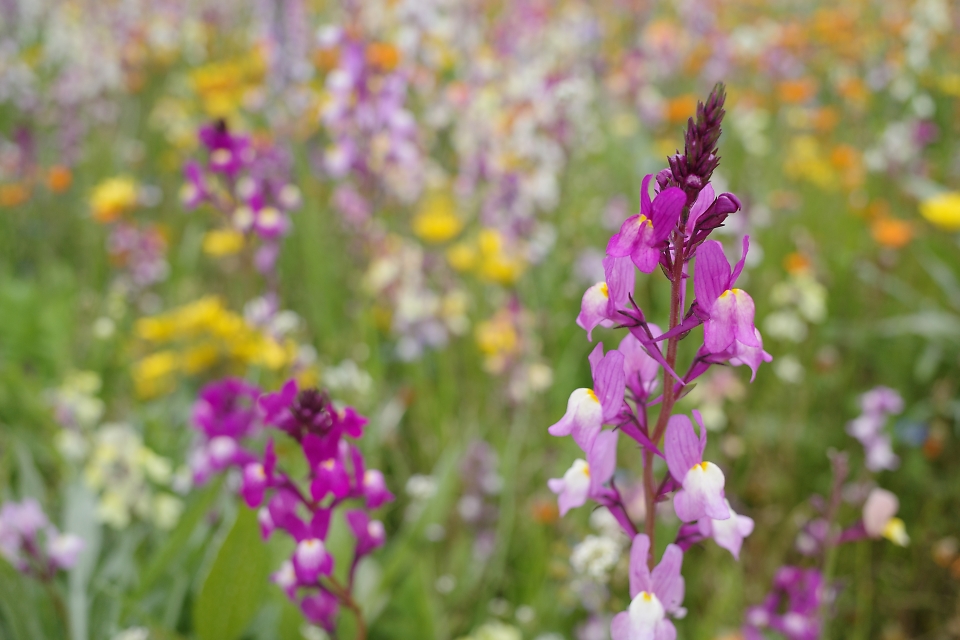
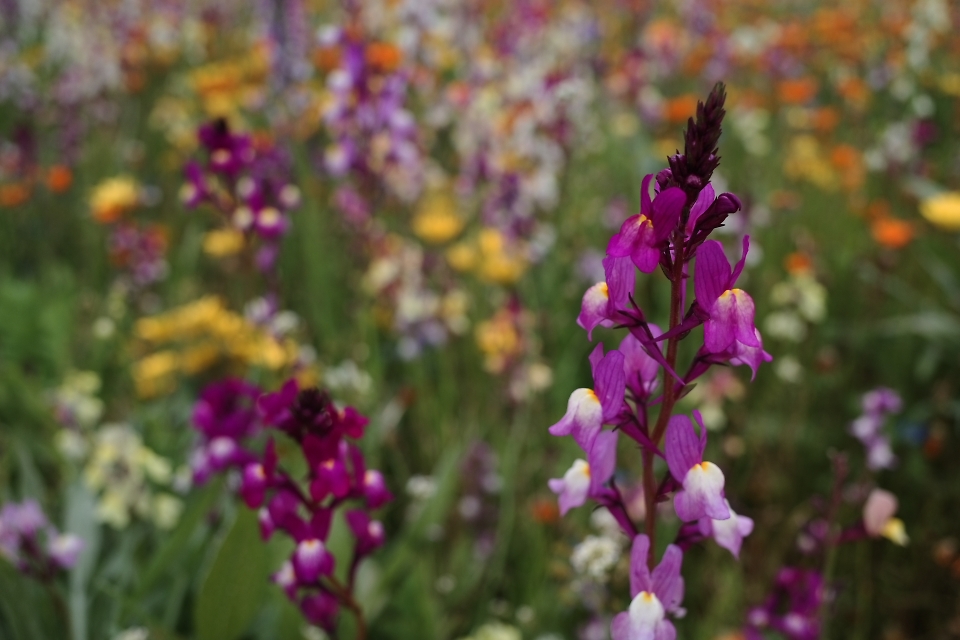
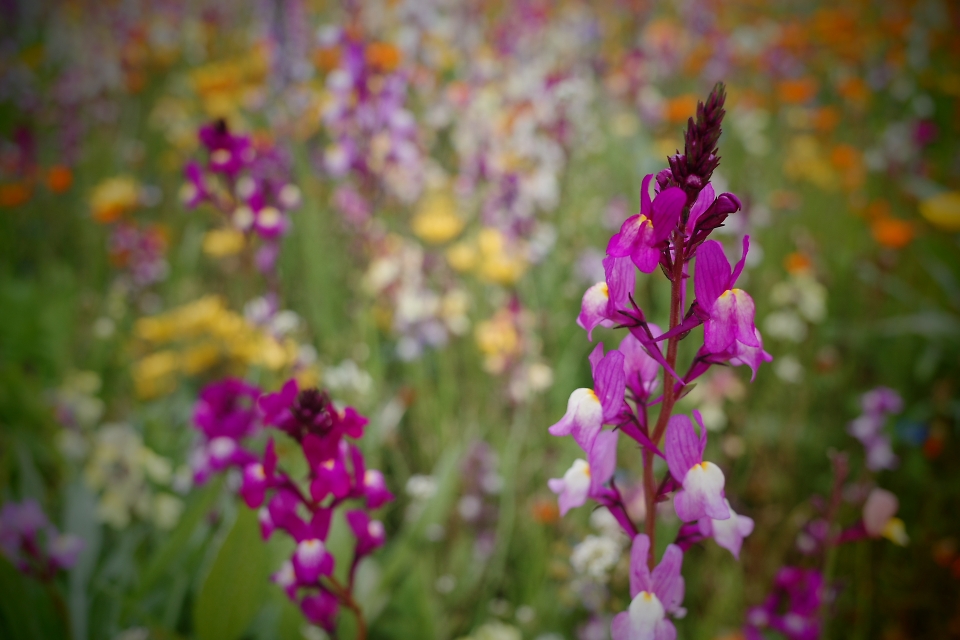
Original image (RAW+) Av mode F4.0, 1/250, EV+0.3, Standard


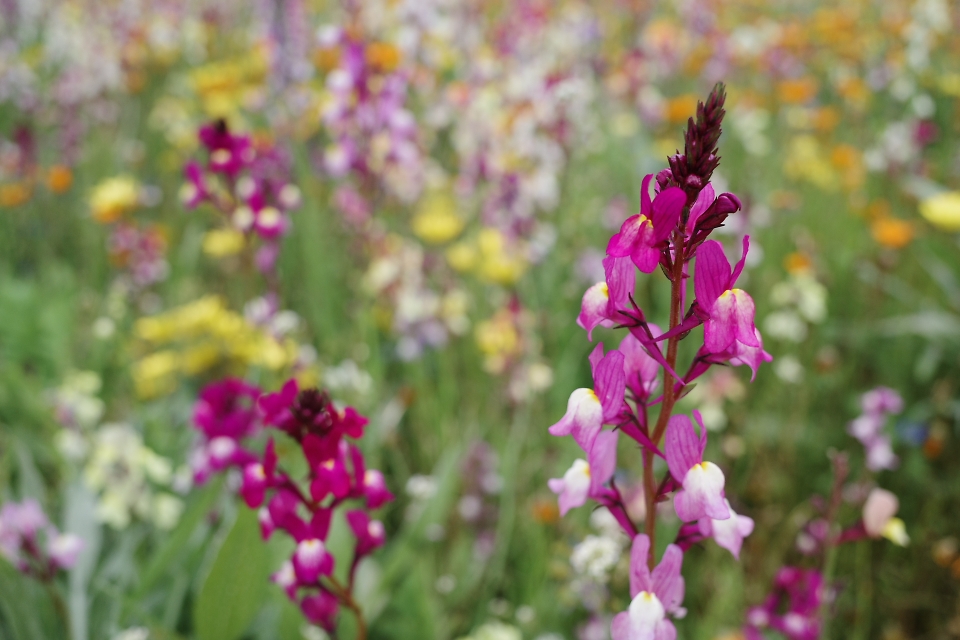
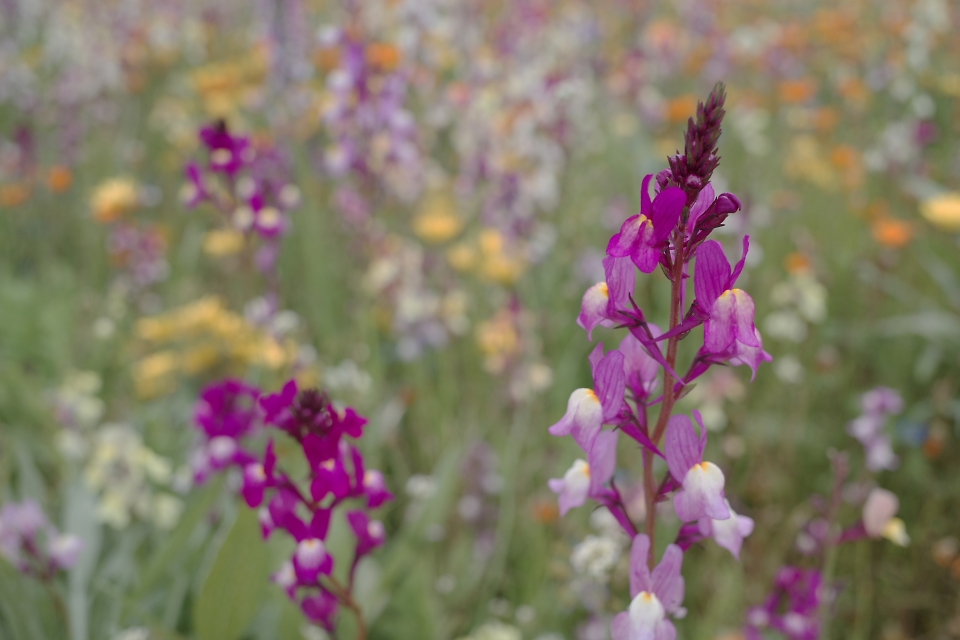
(Left) Saturation +4 / (Right) Saturation -4

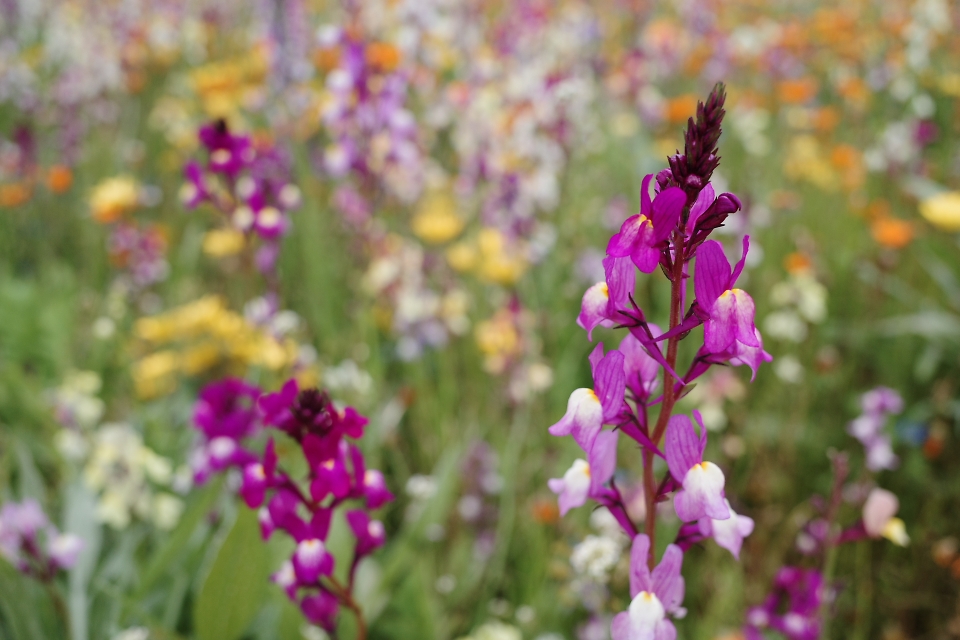
(Left) Hue +4 / (Right) Hue -4
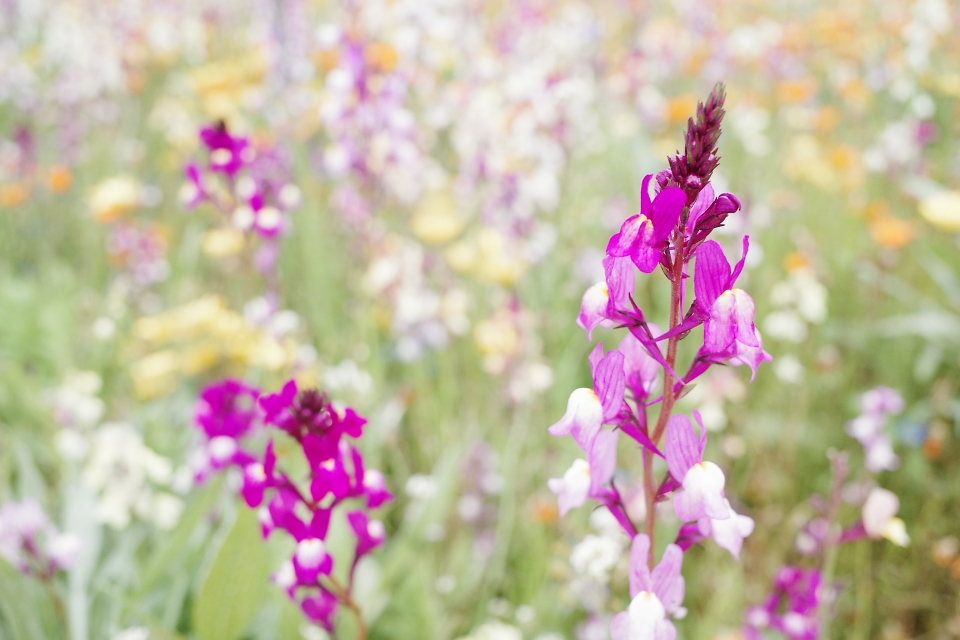
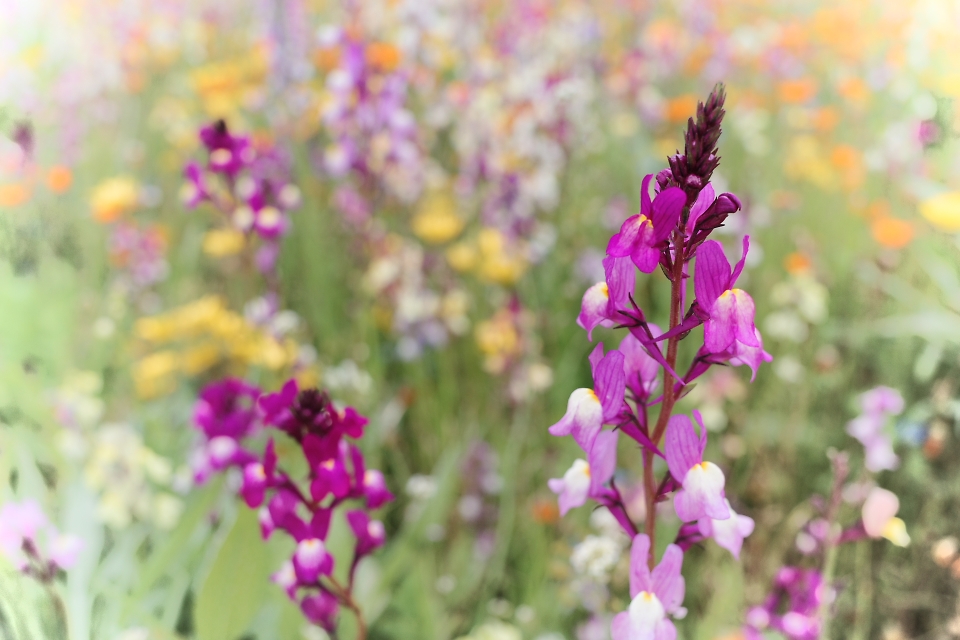
(Left) High/Low Key Adjustment + 4 / (Right) High/Low Key Adjustment -4

(Left) Contrast +4 / (Right) Contrast -4


(Left) contrast (Highlight) +4 / (Right) Contrast (Highlight) -4

(Left) Contrast (Shadow) +4 / (Right) Contrast (Shadow) -4


(Left) Sharpness +4 / (Right) Sharpness -4
(Left) Shading +4 / (Right) Shading -4


(Left) Clarity +4 / (Right) Clarity -4
You can adjust these parmeters individually to create your favorite image.
The adjustment value depends on the subject, but for a multicolored subject like this, I personally like it with controlled saturation and clarity. Please give it a try if you own a GR III.
By the way, I have heard on the net some GR III users talk about the Mode dial, which has been changed from the previous models. Let me explain a little bit the U (user) modes of the Mode dial.
The default user modes (from U1 to U3) right after purchase are the same as the green camera mark of the previous GR models. These can be useful for those who do not want to learn about the settings and want to shoot simply by pressing the release button.
What is different from the previous green camera mark mode is that you can change the parameters. As long as you don’t save it, after trying various values in each parameter, you can always come back to the default by setting the dial to a different mode once and going back to the U mode again.
The TAv mode, which has been omitted in the GR III, can also be operated in a similar fashion by setting a user mode with the M mode and ISO Auto.
Enjoy photographing with your GR III!
(Emi)


