

(Translated from the original post on December 22, 2022)
Hello, this is KA-TSU.
In December, the streets are lit up and the city becomes more colorful and festive.
Just taking pictures of the lights makes me happy, but with the GR, I can enhance them and make them look even more festive.
What I am doing here is the well-known technique of multiple exposures.
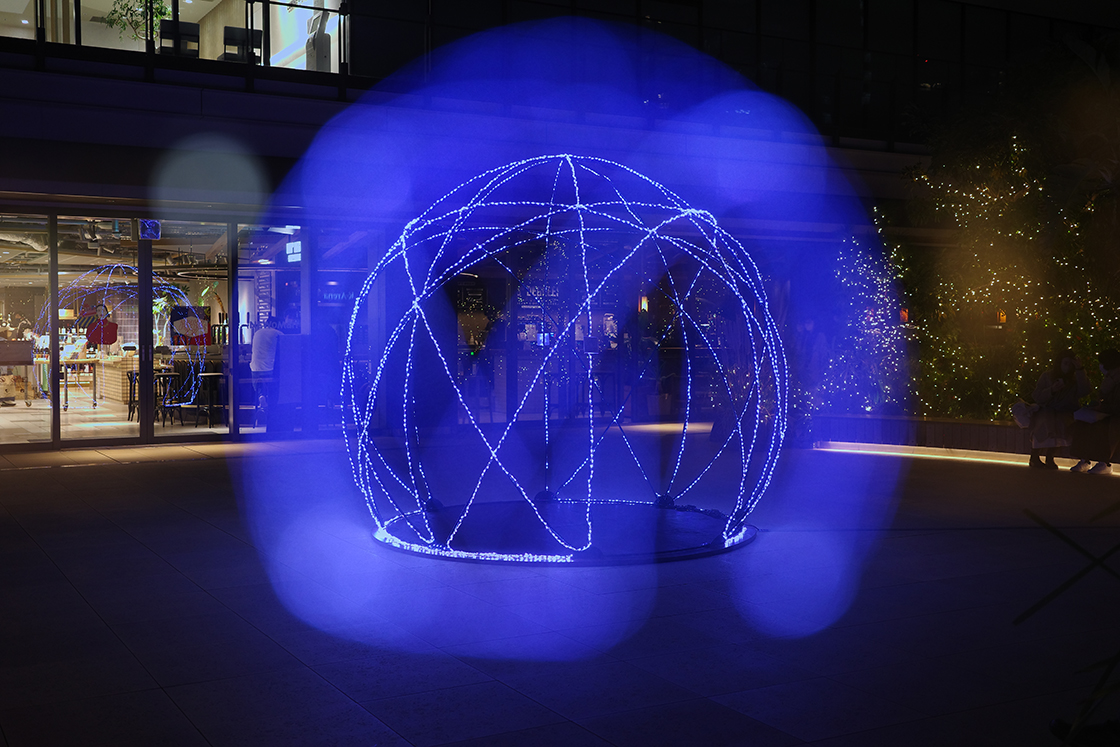
The easiest way to "enhance" an image is to superimpose two images, one normally in focus and the other lagrgely out of focus.
What you do to get a large out-of-focus image is to focus on a macro area (closer than a few tens of centimeters) with manual focus.
If you set the composite mode to Average, the difference in brightness before and after the composite will be minimal, making it easier for casual experimentation.
There are no rules for shooting order. You can shoot either one first.
Now let's compare the results.
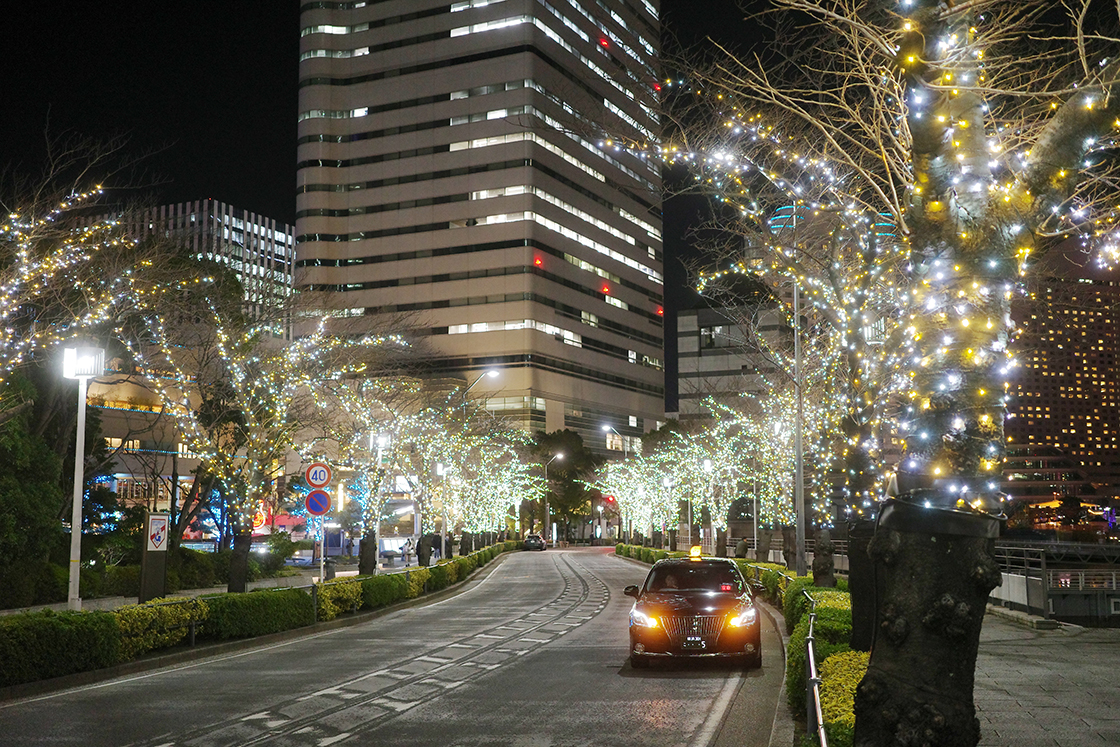
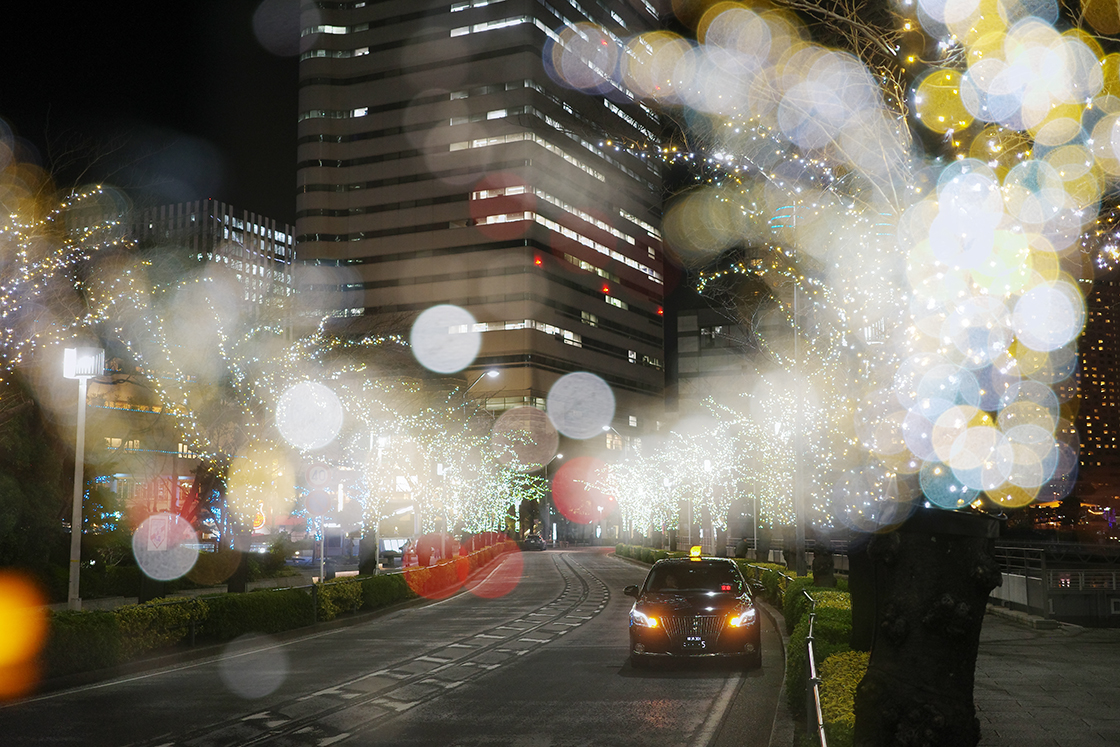
First, the lights of the street trees.
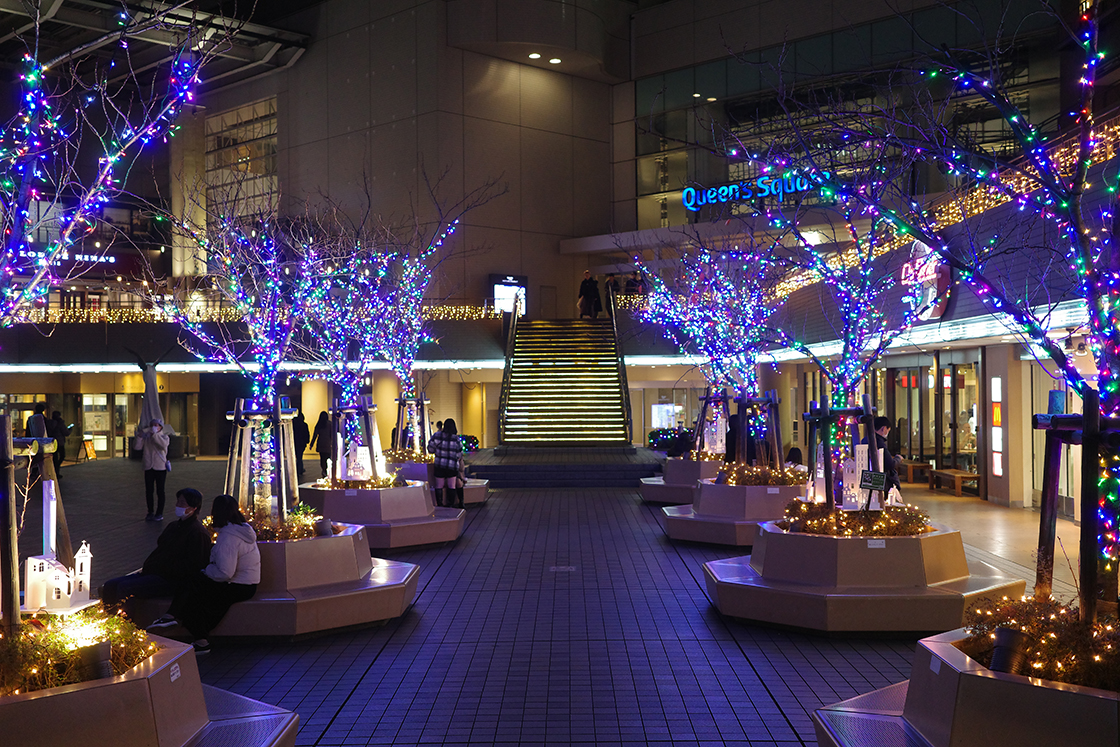
Then the lights of the trees in the square.
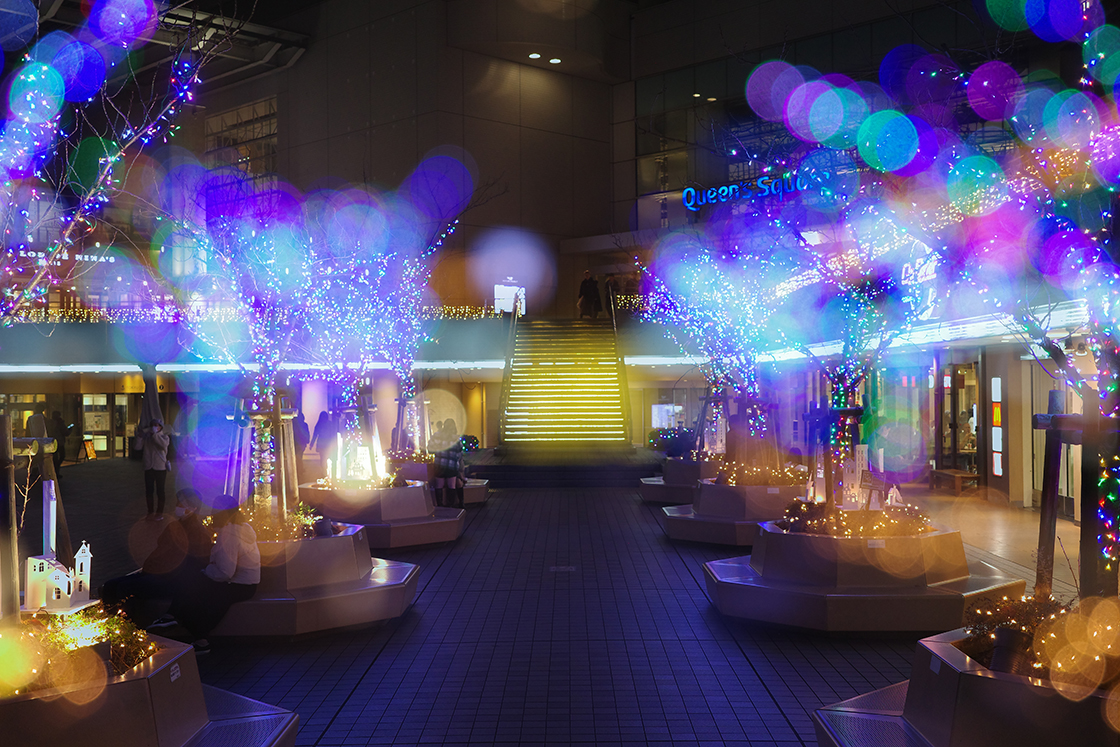
Depending on your preference, layering images with lots of LED lights in round bokehs will add to the dreamy feel.
One thing to keep in mind.
Even if you shoot from the same standing position, the two images will not be perfectly aligned.
The first example shows two images taken from the same standing position. In the image focused closer to the subject to create bokeh, the lights are more scattered, making it appear as if the angle of view is narrower.
In the second example, after shooting the out-of-focus image, I moved closer to the main subject to align its in-focus image with the out-of-focus image.
The multiple-exposure mode with the GR III and GR IIIx is easy to use, even if you are trying it for the first time. You can see how the images overlap on the screen before shooting, and you can redo the last image as many times as you like.
However, changing your standing position to align the images only works when the main subject is a few meters away.
What if the subject is far away, or the subjects are located both far away and in the foreground?
In such cases, give priority to the most visible object(s) and allow the rest to be misaligned.
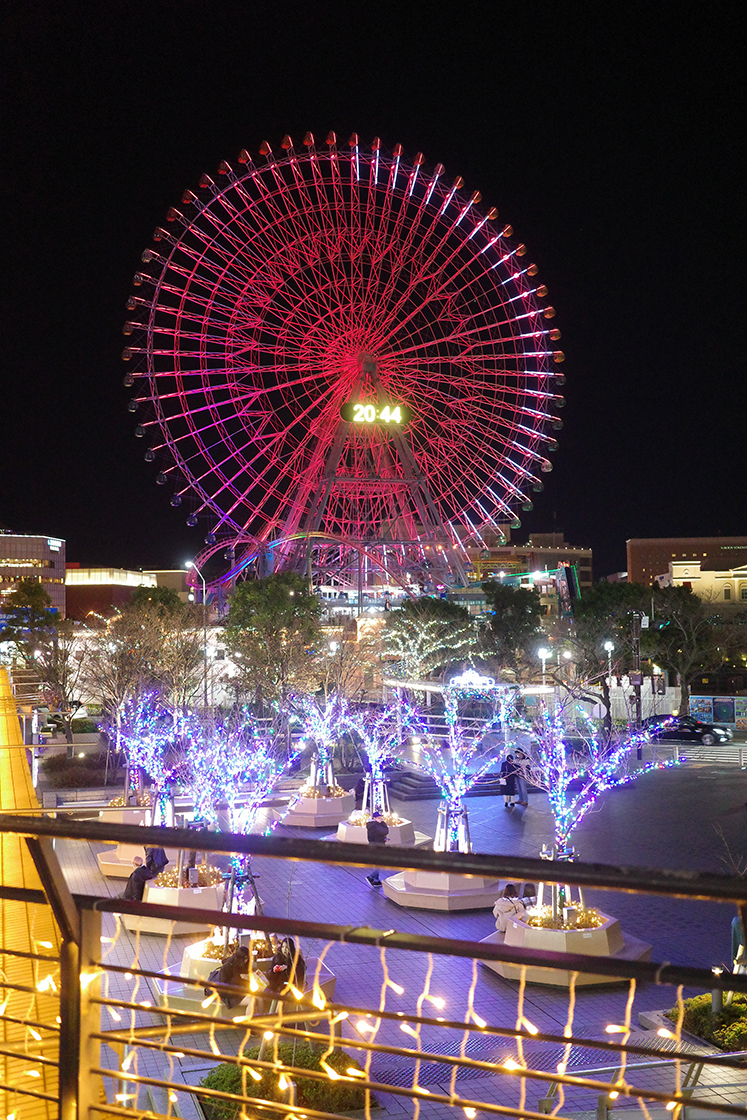
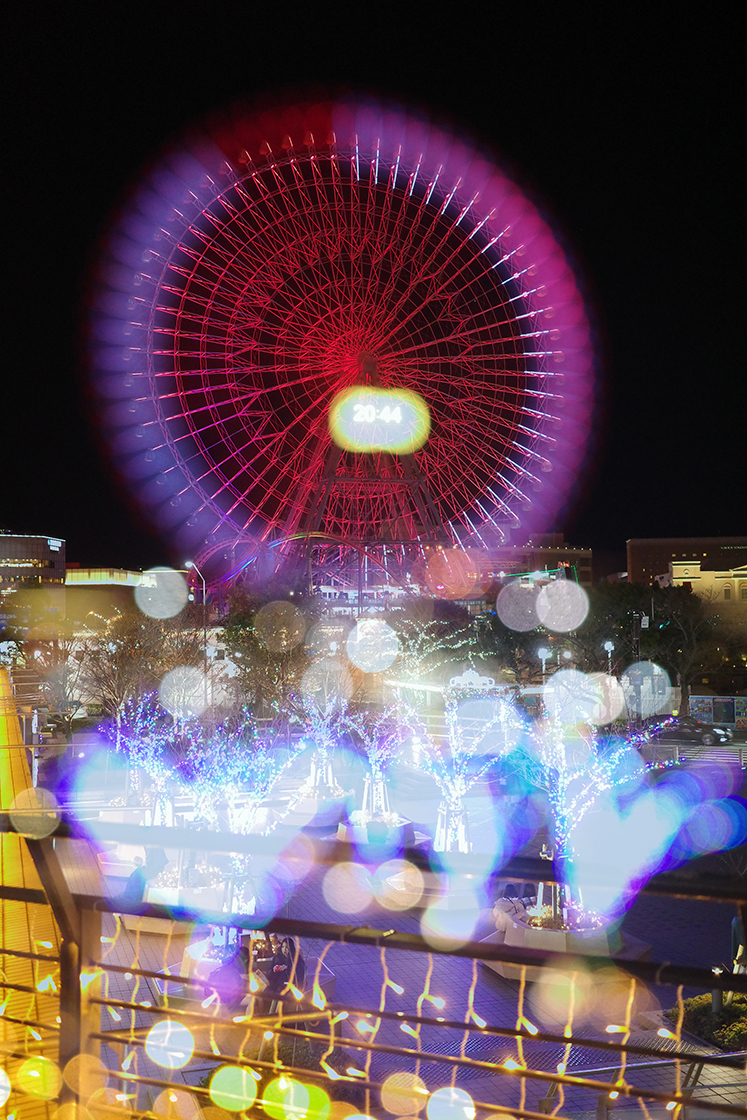
In this image, priority was given to aligning the light of the Ferris wheel against the dark night sky. This is because the misalignment of the light in the lower bright area is not as significant.
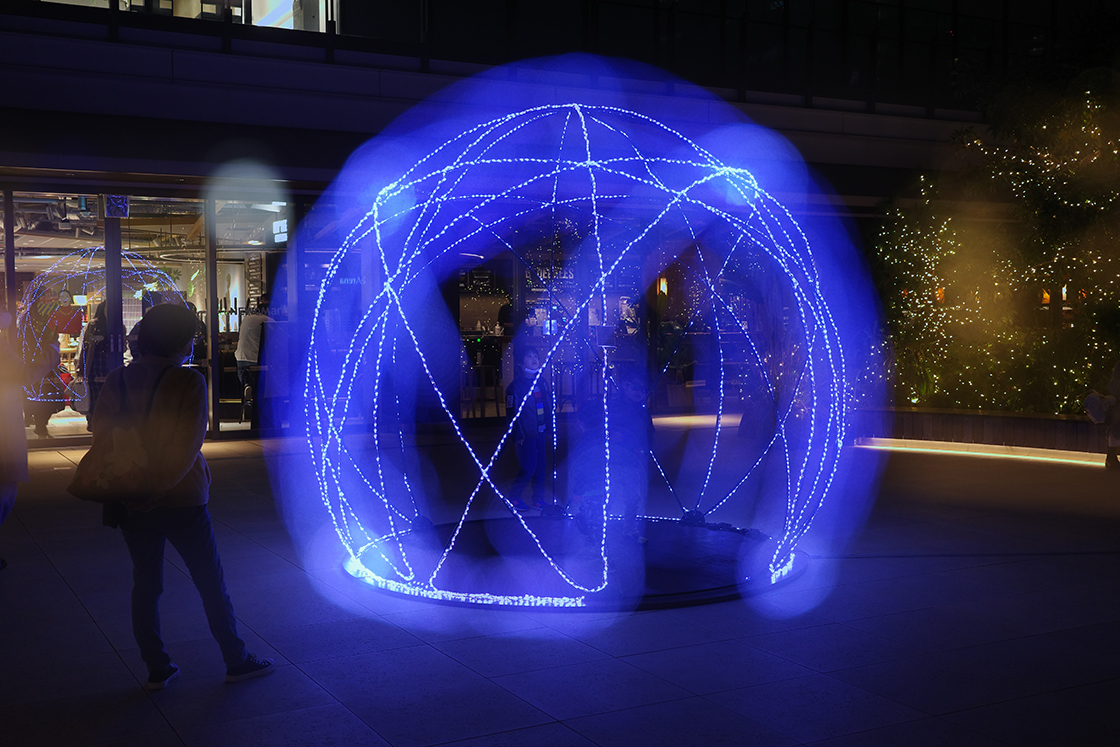
So far I have shown examples for outdoor use. This technique also works well indoors.

In this example, I pulled back so that the entire tree fits in the frame and there is less of a sense of scattered round bokehs. On the other hand, in the cover image of this article, only part of the tree was photographed, creating an image with scattered larger round bokehs.
Have fun with multiple exposures of the season's lights.
(KA-TSU)


